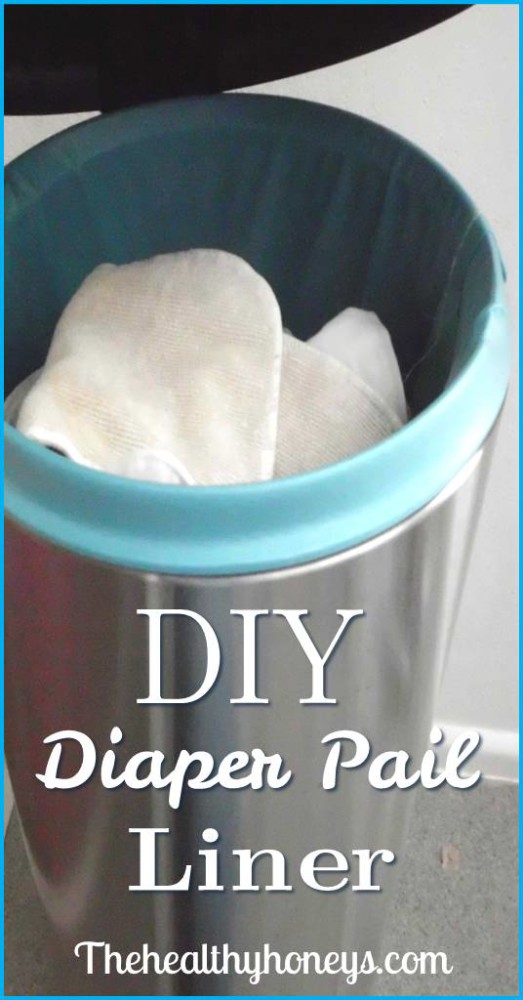
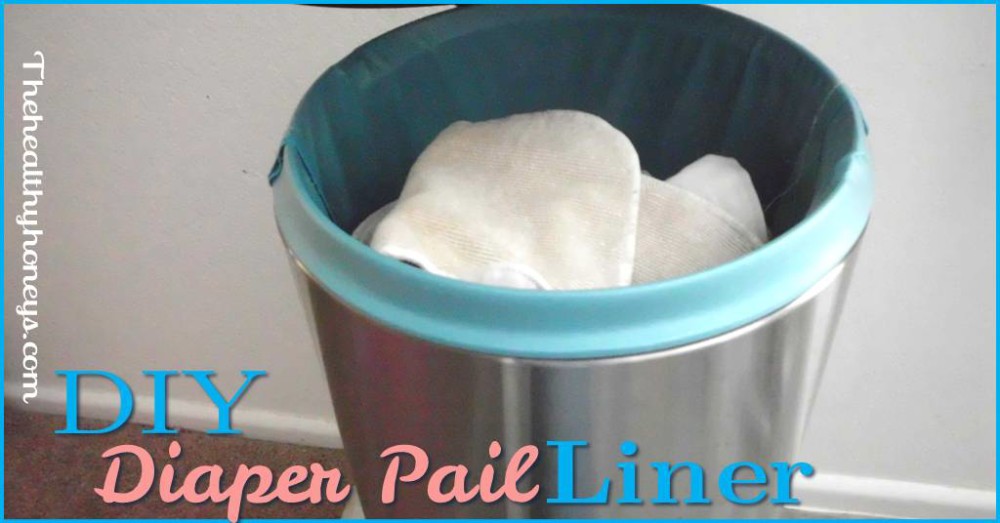
DIY Diaper Pail Liner
Why pay $20 for something when you can make it for half the price? Diaper pail liners are super quick and easy to make. If you’ve been looking for a how to, search no more. I used leftover PUL material from my cloth diapers to make this DIY Diaper pail liner.
TIP: When sewing PUL use a #9 or #11 ballpoint needle and appropriate thread.
Step 1: Measure your diaper pail.
Measure your diaper pail height and length around. Mine was 33 inches around the rim and 28 inches tall.
Step 2: Cut and measure your fabric.
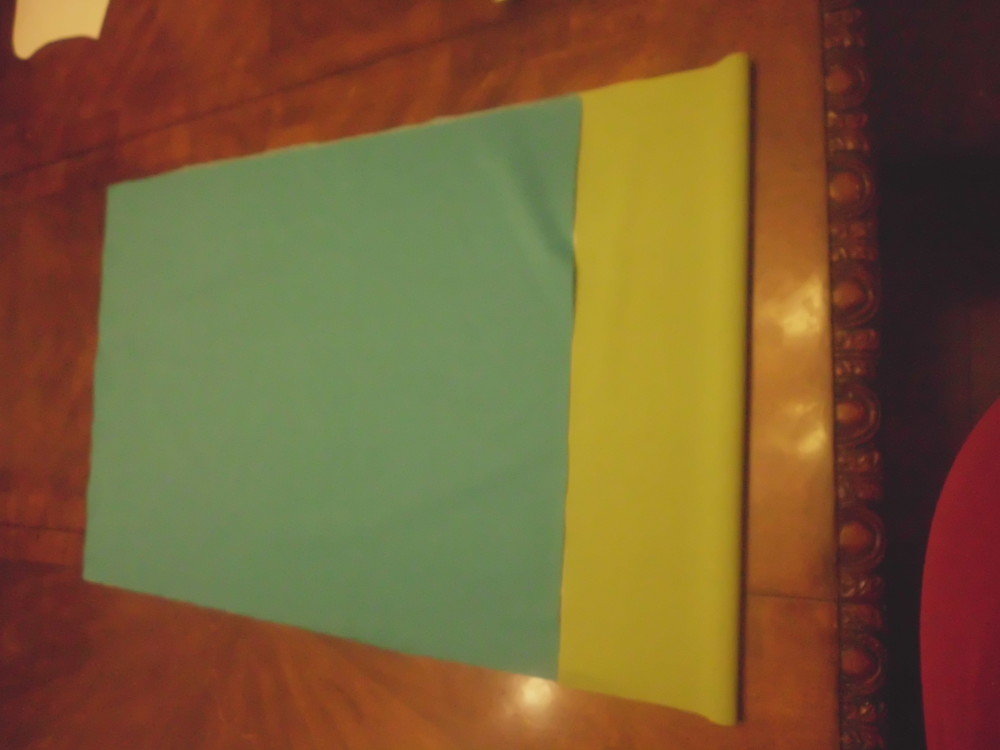
So since I was using leftover fabric I didn’t have the length I needed to so I combined two different colors and cuts of fabric. If you are using all one color of fabric the best way to do it would be to double your height measurement. In my case this was 28 so I would double that, and half the circumference. (56 inches) I would cut my fabric 56 by 18 (to leave a little extra room).
Since I was using leftover fabric I had to calculate it a little differently. I cut a piece of fabric to fold over the bottom about 12 inches. then divided the rest on each side. so 12 inches folded over is 6 inches. 28 -6 was 22 and I added and inch for the sewing. So I cut 1 color of fabric 12×18. and two pieces of the second color 22 x 18
Step 3: Fold the fabric in half and sew the sides.
You will want the plasticy side out and right sides together. Sew a straight line from the fold to the top on each side. Then turn right side out.
Step 4. Add the elastic.
You want your elastic to be slightly smaller that the circumference of you pail. Mine was 33 so I cut my elastic to 28 inches. Line the elastic up with the top of your diy diaper pail liner. Use a zig zag stich and start sewing over the elastic and the PUL. After you’ve got it started fold the elastic in half and find the mid point. Line that up with the mid point in your fabric and stretch it out until the elastic stretches evenly with the pail liner. Sew the to the half way point and then stretch the elastic the rest the way around so that it overlaps slightly with your beginning elastic. Continue sewing until you reach the end.
Step 5: Fold over the top to hide the elastic.
I liked how this looked better. You will use a straight stitch. I just folded the fabric over and sewed the PUL to itself creating a kind of casing so you couldn’t see the elastic.
And your done! You have a super easy DIY diaper pail liner. Try it out. I made two so I could have one while I was washing the other with the diapers.
Like this post? Please share it by:
Pinning it here!




Thanks for this easy and thorough tutorial. I made 2 pail liners for the price of one purchased one! I never would have remembered to use a ballpoint needle and I had forgotten how to work with elastic. This worked great. I opted to french my side seams but skip the straight stitch on the elastic.
I will be curious to see how long these last. I had misunderstood Bum Genius’ instructions to add bleach once a month (inserts only, not PUL!) so my previous pail liners lives were shortened (along with my diapers).