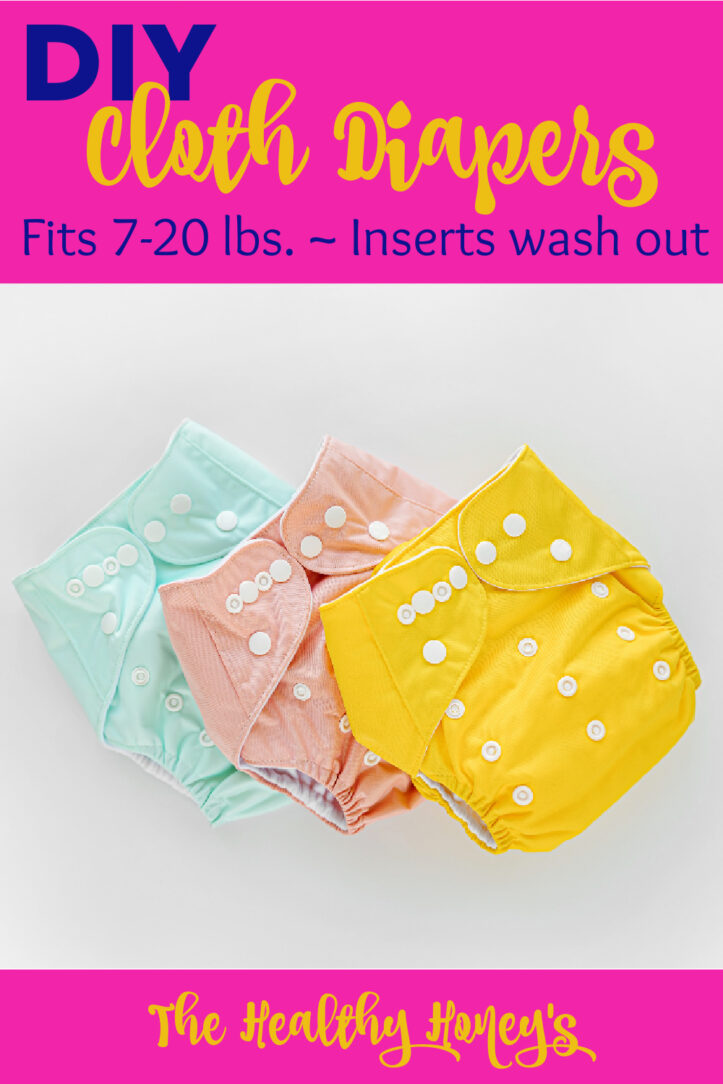
These DIY cloth diapers have become my all time favorite. The pattern is simple to follow, and the diapers themselves fit well, are durable, and are easy to clean.
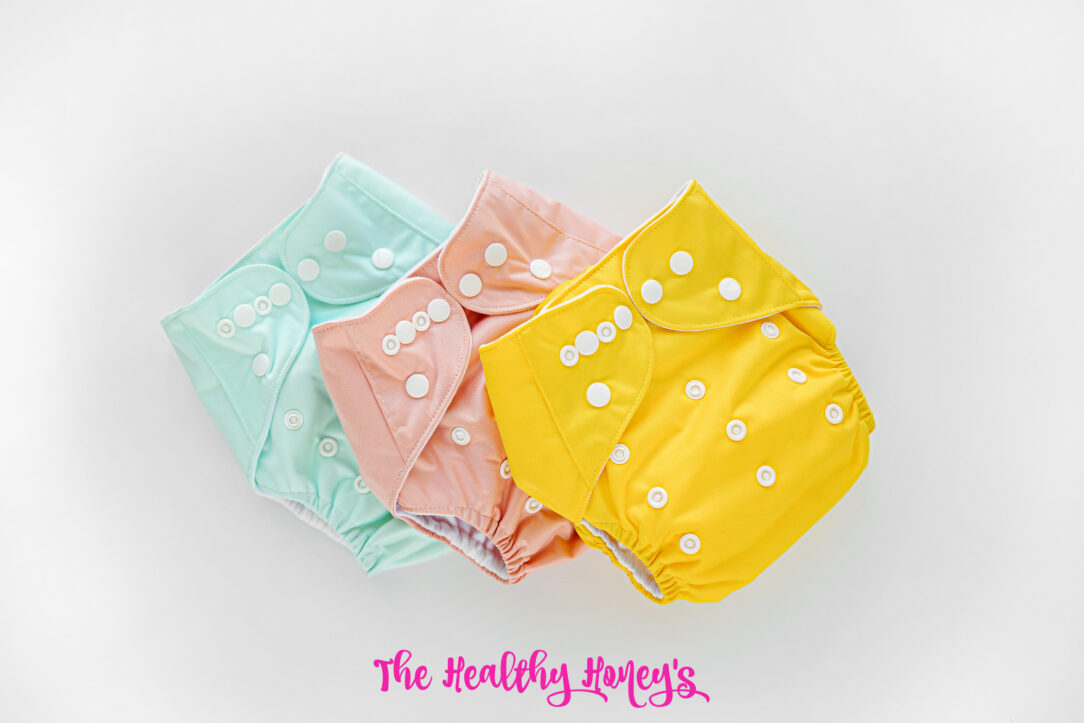
DIY Cloth Diapers: Agitates out in wash, 7-20 lbs
Let me just start by saying I love the design of these DIY cloth diapers. Inserts that wash out. Only two sizes that fit well and are trim. Size one fits from newborn to 20 lbs. I love it!
I had also run into the problem with my first. We bought one size diapers that didn’t fit well and were super bulky until 6 months. So with the new baby I wanted to find something that would fit until we could move her up to the one size diapers. This design was great.
I’ve tried these out to make sure the inserts agitate out in the wash and it worked great in my top loader washer. I used the DIY bamboo inserts that I made here.
*I wanted to make 20 DIY cloth diapers. Technically you can get about 10 diapers from 1 yard of fabric if you cut it just right…but then all your diapers would be the same color almost. I got 4 yards and used some for my DIY Diaper pail liners. You can also order diaper cut packages.
You will need:
- Sewing Machine
- Serger
- Snap Press
- Snaps
- 3/8 inch Elastic
- 2-3 Yards PUL fabric
- 3 yards Micro-fleece fabric.
- 100% polyester Thread. (100% polyester thread provides less wicking once the diapers are wet)
* This is for a size 1. Print off the pattern here: (This contains the shape and placement of snaps and elastics and alignment of microfleece to PUL). Keep in mind I don’t really know how to write a pattern but hopefully this gives you the idea.
Step 1: Cut out your fabric.
*always cut on black line
- PUL fabric: blue line
- Microfleece: green line, orange line
I traced the pattern onto the PUL fabric so I could get as many diapers out of one yard as possible. You will use the full pattern.
For the micro fleece you will cut two pieces for each diaper. I have drawn lines as to where to cut. Cut one from one side of the pattern and the other piece from the other keeping in mind that the two pieces of micro fleece overlap about an inch.
Step 2: Mark your snap locations.
Poke holes in each of the pink dots on the pattern. Line pattern up with PUL fabric and mark snap locations using a pen or pencil.
Step 3: Install socket snaps.
The snaps need to be put in with two layers of PUL fabric so you will need to use the scraps or another piece of PUL to double layer the snaps you will be installing now. The socket snaps will go only on one side of the diaper. It is the part that has two rows of 8 snaps. All of these are to be socket snaps. You will put the cap on the inside…Plastic part and the socket on the outer side. Poke a small hole in your two layers of PUL. Insert Cap and socket on other side. Use Kam Pliers to secure snap in place. Repeat until all snaps are installed.
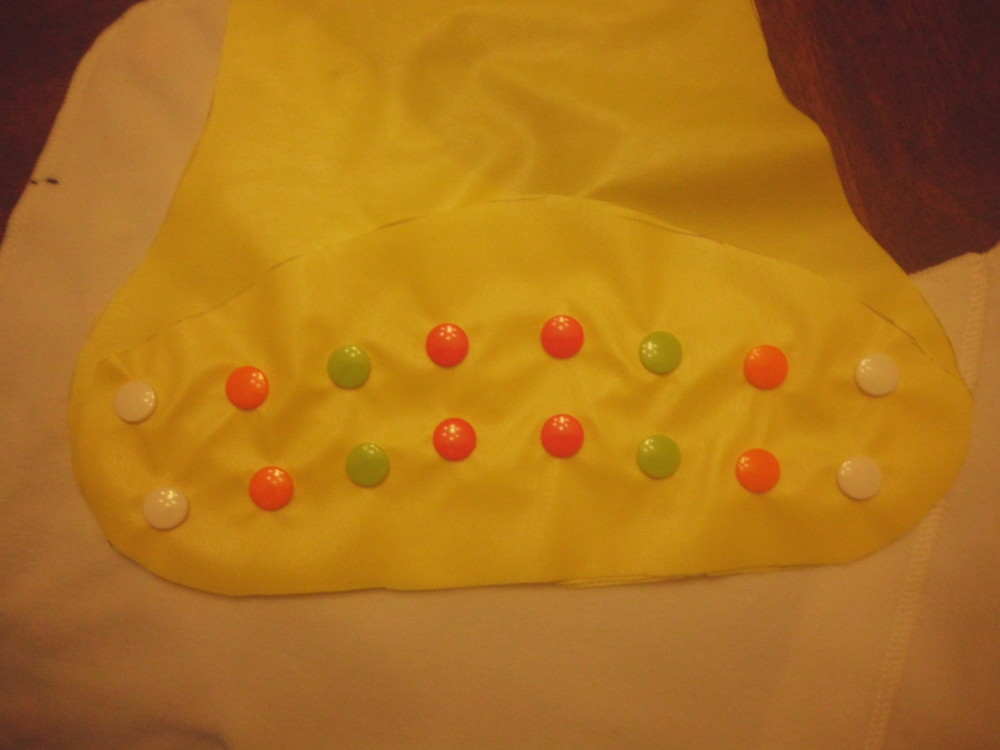
Step 4: Serge micro fleece and PUL together.
So because you are using a serger the edges will be cut as you sew. Also you will line it up just as it will be when you’re done. So you’re not turning anything inside out. You will want the dull side of the PUL out and the soft side of the micro-fleec out. Line it up so that the longer piece of microfleece overlaps on top of the shorter piece by an inch and the edges all line up. You may want to pin the overlap if you have to. (it is best not to pin in PUL but if you have to.) Serge micro-fleece to PUL all the way around.
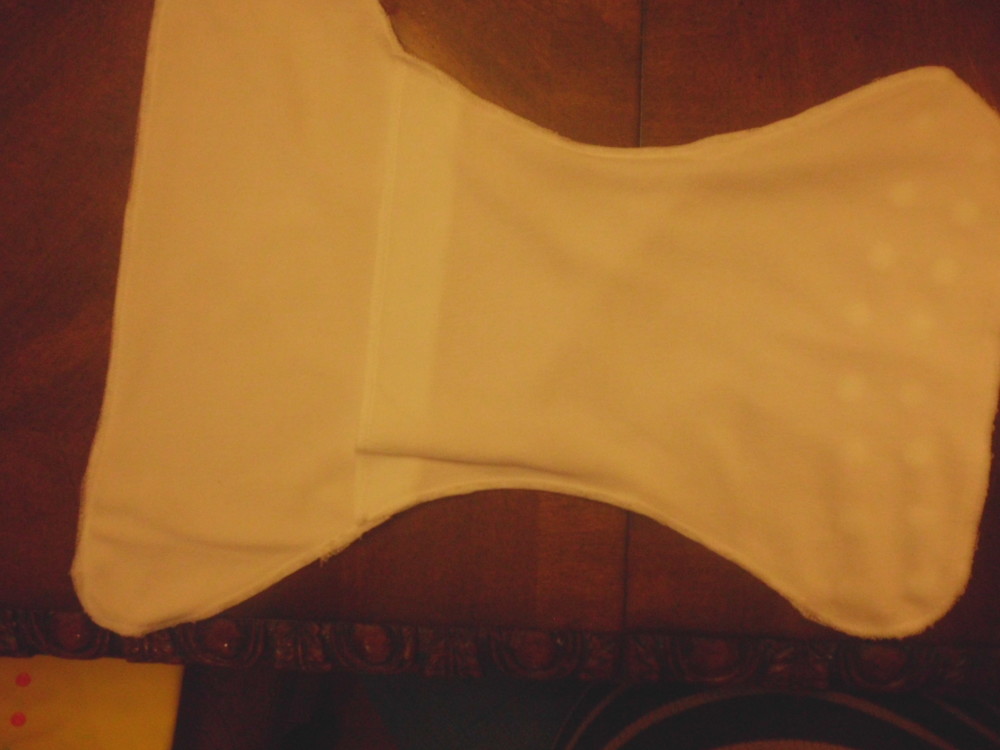
Step 5: Sew in elastics.
Elastic cuts for 1 diaper:
- 2 elastics: 7 inches (sides of diaper)
- 1 elastic: 2 1/2 inches (front of diaper…by socket snaps)
- 1 elastic: 4 inches (back of diaper)
*Use the DIY Cloth diaper pattern to mark elastic locations. Pattern uses pink lines.
You will have two 7 inch elastics for the edges. 1 that is 2 1/2 inches and 1 that is 4 inches. Place the elastic between PUL and micro-fleece, about 1/4 inch from edge. Sew one end of elastic in place, stretch elastic to second mark and sew the other end. Using a straight stitch sew elastic length-wise stretching it so that it is even with the diaper. (I used white on the micro-fleece side and the color of my PUL for the bobbin thread) Do this for all elastics. I found it easiest to start with the front and back elastics and do the side elastics last.
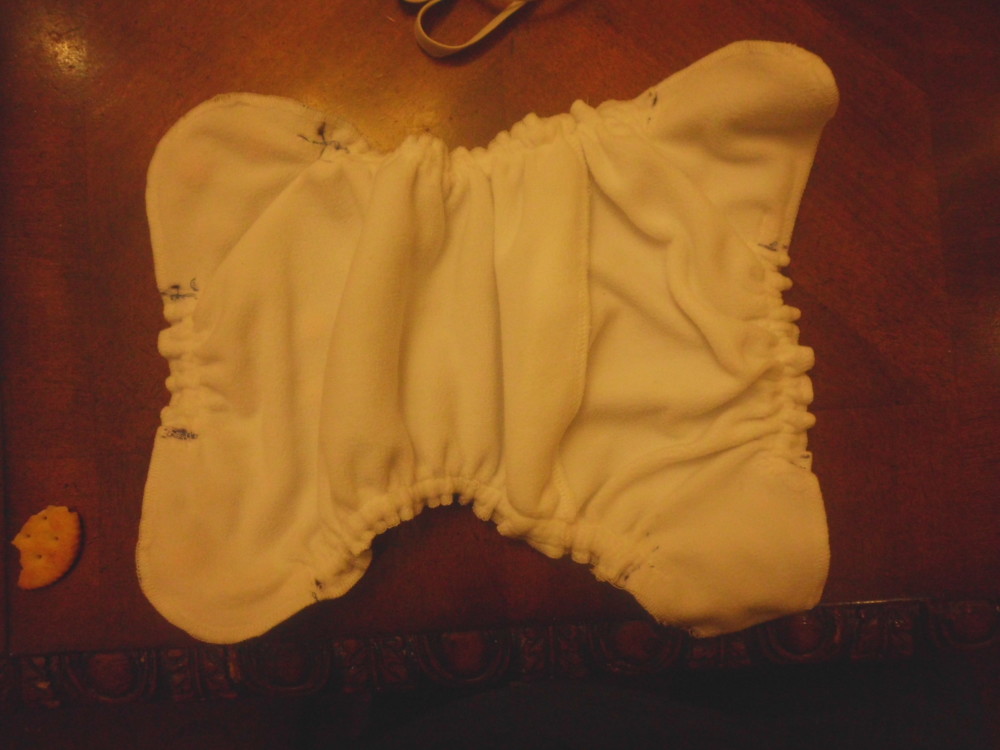
Step 6: Install stud Snaps
These are installed the same way. You may have to mark these snaps again using the yellow dots on the pattern. They do not need a second layer of PUL as they will be going through both the PUL layer and the micro-fleece layer.
And that’s it. Try out all your snaps and cut your threads pretty and your done. I noticed that I hadn’t always put the snaps on perfectly and had to go back and re-do some so that they snapped the way I wanted.
Cloth diapering can be tricky
I’ve been cloth diapering now for 8 years and with all four of my babies. I’ve learned a lot along the way. These are my top tips for beginning with cloth diapers.
Some diaper inserts just don’t do the job but I have loved these bamboo cloth diaper inserts. They are super absorbent and last a long time.
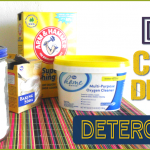
It can also be a struggle to maintain a chemical free environment with cloth diapers. These are my tips to help cloth diaper without chemicals. Further more finding a natural detergent that works for cloth diapering is also challenging. After a long search I landed on this DIY Detergent Recipe.
I cloth diaper 100% of the time. Camping? Yep. Still cloth diapering. Here are some tips from my experience for travelling while cloth diapering.
In the beginning I made quite a few mistakes with my cloth diapers. Here are my tips to help you avoid ruining your cloth diapers. Also, if you think your diapers are ruined, you may be able to save them from being stinky forever by stripping them. Here’s my tutorial to strip your diapers easily.
HE washing machines actually make cloth diapering a bit more tricky. It took me some time to get use to how to make sure my diapers were getting clean in my HE machine. Here is my guide to washing cloth diapers in a HE washing machine.
Last but not least, this is my tutorial for a DIY Diaper Pain Liner. Good luck with your cloth diapering adventures. I hope you love these DIY cloth diapers as much as I have.
Like this DIY Cloth Diapers post?
Please share it by pinning on the image below!


Stumbled across this post on pinterest tonight. I’ve been looking for a pattern/instructions that I like for a while and this one seems right up my alley. However, I’m a tad confused about placing and securing the elastic. Would you mind contacting me via email and helping?? I’m still a noob 😉 thanks! Jennifer
I’m also confused with the elastic. It says to serge all the way around and than out elasticity between fabric??
** I ment than put elastics between fabrics**
yeah. so the elastic goes in between the microfiber and the pul. here is a great tutorial on replacing them. you can follow that. https://www.youtube.com/watch?v=9mS9_2hhXYs
Hey! Thank you SO much for this!!! I am so excited to get started on my diapers 🙂 I was wondering – Do you have a size 2 pattern? My daughter is almost 18 pounds and we own one Applecheeks size 1 diaper and it is a bit tight. Thanks!
I’m sorry, we don’t.
Can I make and sell them in Israel?
I have no idea.
This pattern is not for commercial use.
I was wondering if you have used them and know if they work just like the applecheeks, and how it is going so far? I am soooo excited to make some. Also, I was wondering how many bamboo inserts you got per yard?
We’ve been using them for almost 5 months now. She was born in October. We used disposable newborn diapers for the first few days until all the meconium was out. Then switched to these diapers. They fit her right away and not even on the smallest snap setting. She bulked up fast and we had to make some diy extender tabs to make room for her chubby legs. The tabs have worked great. The work about the same as far as I can tell although the fabric I used is a big thicker so it leaves it a little bulkier looking. I don’t know if bamboo velour would be thinner. I might try doing that next time.
I ordered 1 yard of heavy bamboo fleece. and then 4 of the light bamboo fleece. The light was all in one strip. I got 23 inserts total out of it. I think I could have got two more if I had ordered all 5 yards together. So I guess that evens out to 4-5 per yard.
Hey! I was just wondering how much fabric it takes to make one diaper approximately?
They sell diaper squares that these would fit. I bought 4 different colors in 1 yard sections. each yard made around 8 if I remember right. I was really trying to line it up so they would fit in the grooves and didn’t leave a lot of wasted fabric though. I made 20 diapers and one pail liner with the 4 yards of pul. there is still some left. I could probably do another pail liner.
I am looking for help making my grandson diapers, the problem is he has fat thighs & the elastic seems to be to tight. To compensate for tje thighs, we have to make them looser in the waist so then they gap open. Any help would be appreciated. Thanks
Yeah. we have the same problem. we just added extender snaps. It’s just about a two inch rectangle. you put snaps on both sides of it and then you can snap it onto the diaper. similar to this:
https://www.google.com/search?q=cloth+diaper+extender+tabs&espv=2&biw=1517&bih=741&source=lnms&tbm=isch&sa=X&ei=yysLVZLcJtGzoQST4IDwBQ&ved=0CAgQ_AUoAw&dpr=0.9#imgdii=_&imgrc=Q5-9sSOrkoVOAM%253A%3BPEiDogrgSpn-kM%3Bhttp%253A%252F%252Fgreenwithjoy.ca%252Fshop%252Fimages%252F4150%252Fwaistextender.jpg%252F%3Bhttp%253A%252F%252Fgreenwithjoy.ca%252Fshop%252Fapplecheeks-diaper-extender-tabs%252F%3B288%3B226
I don’t have a tutorial but it is just the pul on the outside and micrfleece on the inside with added snaps.
Has anyone tried this pattern using a normal sewing machine instead of a serger? I’m thinking of trying it using a zigzag stitch edge, or my double pointed needle (or both!). If anyone has already tried this I would love to hear your experience/how it turned out. I’m due in June and am excited to get going on these while I still have time!
I actually did one on a normal sewing machine. It worked but the stitching just didn’t look as pretty and it took quite a bit longer to do.
Do I have to add elastics for my sister’s doll good dIy
I would imagine that you would. If you don’t use them you may have to figure out a way to alter the pattern.
Do you have video tutorial for this? 🙂
Sorry. We don’t.
i have spent weeks going to retail stores asking for diaper donations for the needy babies we have to turn away at our food pantry.
it seems that an answer might be having a group of women make cloth diapers. Then I saw your post and finally feel if I can get some volunteers it could work.
I am so grateful for your providing a step forward. Thank you.