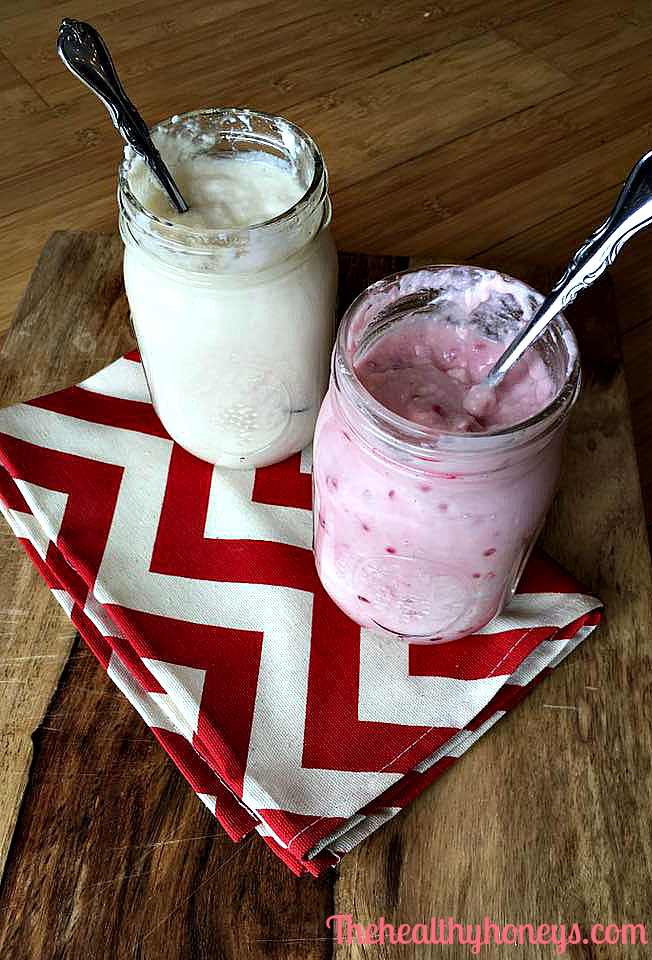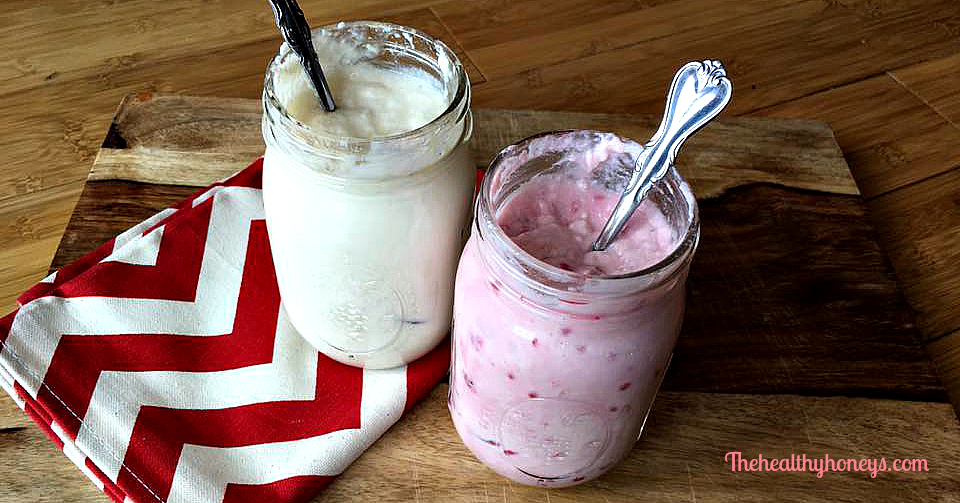
I’ve been making yogurt in my crockpot for a few years now. Today I’m going to share with you the my crockpot yogurt recipe that I have used all along and a few tips to making it successfully. Generally speaking yogurt is one of the simplest dairy products to make. It has a relatively large range for error and will still turn out. This makes it far easier to make than products like cheddar or parmesan.
Homemade yogurt typically has more zing than its store-bought counter part. This is most likely because it is left to set longer. The best ways to neutralize the zing is to strain off the excess whey, make sure to not let it sit for too long before refrigerating, and add fruit, vanilla, and sweeteners. Much of the zing is in the whey. The cooling stops the fermentation process. The longer it ferments the more zingy it will become.
The quality of the yogurt will depend on the quality of your starter. Before I understood this I would sometimes have a batch that would turn out really zingy, really thin, or even like cheese. The best yogurt starter I have used comes from Cultures for Health. I have also used a high quality store-bought greek yogurt as my starter, and liked the outcome. However, most store-bought yogurts have fillers added to them to thicken them up and this will then be in your yogurt as well.
If you like a thin yogurt then you may be able to skip straining your yogurt. If you like a thick yogurt then you will want to make sure to strain it longer in a cheesecloth. Also, the kind of milk you use can effect the thickness of your yogurt. Generally speaking pasteurized milk creates a thicker yogurt and raw milk makes a thinner yogurt, although with straining I have always been able to get raw milk yogurt as thick as I’d like. With raw milk, the fresher the milk the better the end flavor will be. Do NOT use ultra pasteurized milk. It is unsuitable for culturing. You also don’t want to use too much starter. More starter will not equal thicker yogurt, instead the bacteria will run out of food and will result in a thinner bitter yogurt.
I recommend purchasing an heirloom thermophilic starter for yogurt. This will allow you to use a portion of your yogurt each time to make additional batches and it will provide a thicker yogurt. A Greek or Bulgarian yogurt start would be best for this purpose.
If you are making your yogurt from raw milk you will need a few extra steps. Which we will be posting about soon.
Ingredients and Supplies:
Directions:
Pour milk into a large crock pot. Set to LOW for 2 1/2 hours.
Turn crock pot off and let sit with lid on for 3 hours.
Add yogurt, place lid back on, and wrap the crock pot with a bath towel. The goal is to make a dark insulated environment for the cultures to grow.
Let crock pot sit covered, not heating for 8-12 hours. I usually start my process between 3 and 4 in the afternoon.
After your 8 hours, you will have created YOGURT!
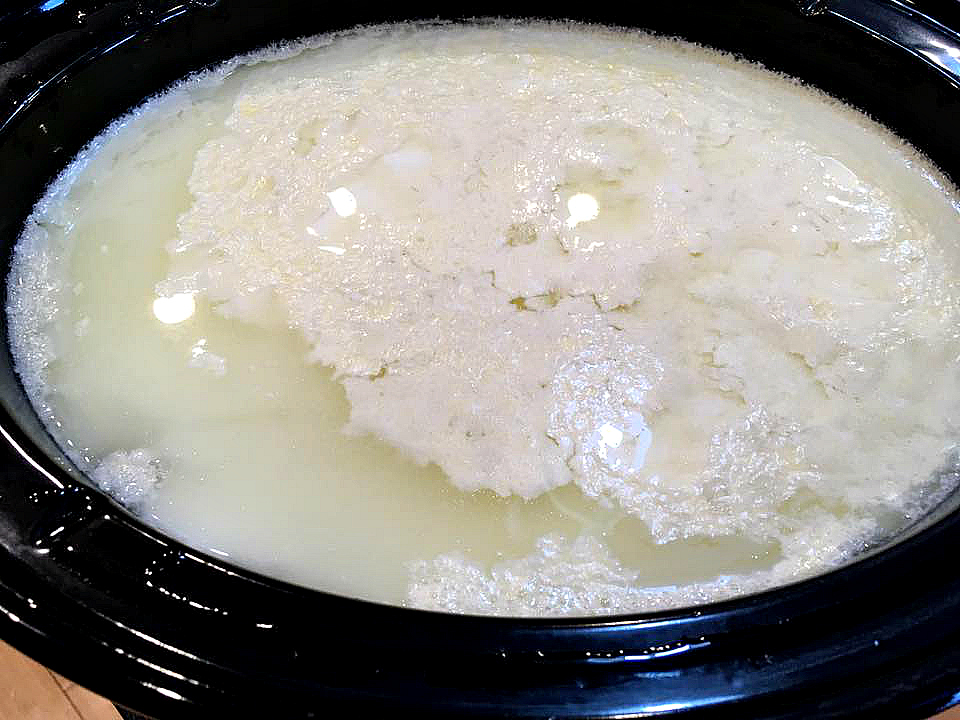
Line a strainer with a cheesecloth and strain yogurt to desired consistency.
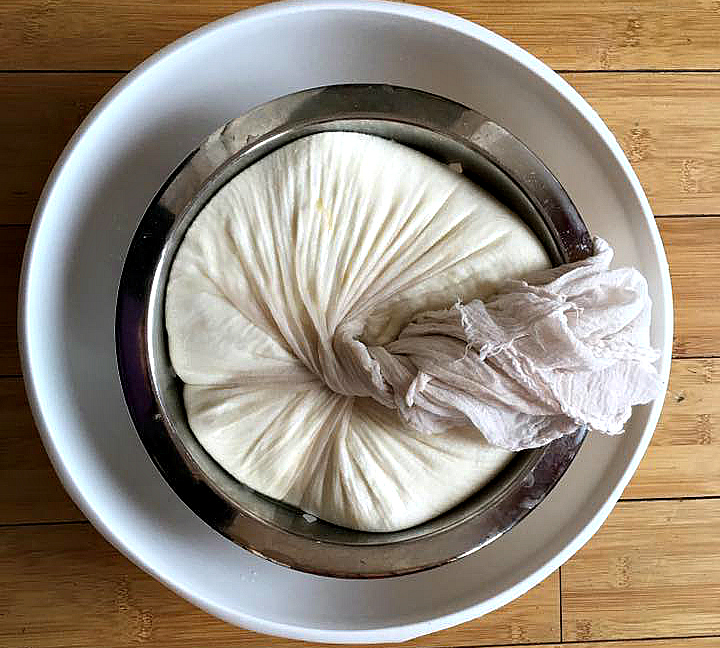
Strain for 15-30 minutes. The longer you strain the thicker it gets. (Note: If you accidentally strain for too long simply add some of the whey back in and stir.)
Save the whey to make smoothies or use in recipes like pancakes and muffins to replace the milk.
- 8 C. milk
- 1/2 C. yogurt with live cultures (or one package of yogurt starter)
- Crock pot
- Bath towel
- Cheese cloth
- Strainer
- Pour milk into a large crock pot. Set to LOW for 2 1/2 hours.
- Turn crock pot off and let sit with lid on for 3 hours.
- Add yogurt, place lid back on, and wrap the crock pot with a bath towel. The goal is to make a dark insulated environment for the cultures to grow.
- Let crock pot sit covered, not heating for 8-12 hours. I usually start my process between 3 and 4 in the afternoon.
- After your 8 hours, you will have created YOGURT!
- Line a strainer with cheesecloth, and strain to desired consistency.
- Strain for 15-30 minutes. The longer you strain the thicker it gets. (Note: If you accidentally strain for too long simply add some of the whey back in and stir.)
- Save the whey to make smoothies or use in recipes like pancakes and muffins to replace the milk.
Like this post? Please share it by:
Pinning it below!
